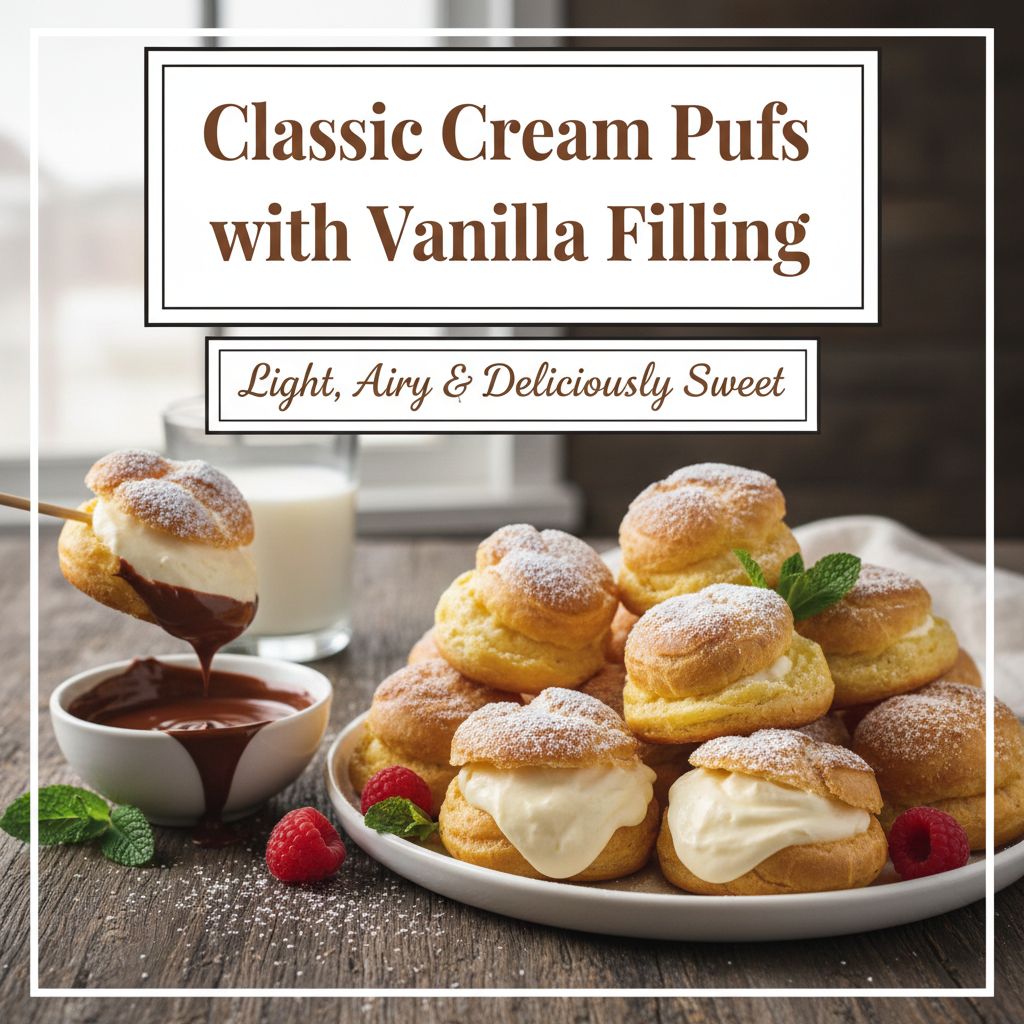
Classic Cream Puffs with Vanilla Filling
Some desserts shout for attention. Cream puffs don’t. They sit quietly on the table, light and simple, and somehow disappear first. Maybe it’s because they feel delicate, or maybe it’s because one bite reminds people of bakeries, holidays, and the kind of treats that feel special without being heavy.
Cream puffs aren’t flashy. They don’t rely on layers of frosting or dramatic decoration. What makes them memorable is contrast: a thin, crisp shell that gives way to soft vanilla cream, airy but rich at the same time. When made well, they almost melt before you realize what happened.
Despite their elegant look, cream puffs were never meant to be intimidating. They were created from basic pantry ingredients and were traditionally made in home kitchens long before stand mixers and specialty tools existed. The process rewards patience more than skill, attention more than speed.
This recipe brings cream puffs back to where they belong — simple, honest, and made by hand.
A Different Kind of Dough
Cream puffs begin with a dough that behaves unlike any other. There’s no yeast, no rising time, and no rolling or shaping in the traditional sense. Instead, the dough is cooked before it’s baked, and steam becomes the engine that lifts it in the oven.
This dough, known as choux, starts on the stovetop. Water and butter are heated together, flour is stirred in all at once, and the mixture is worked until it forms a smooth, thick paste. Eggs are added afterward, transforming the dough into something glossy and elastic.
It doesn’t look impressive in the bowl. But in the oven, it does something remarkable.
Ingredients with a Purpose
Nothing in this recipe is extra. Each ingredient earns its place.
For the pastry shells:
- Water for steam and structure
- Butter for richness and flavor
- Flour to hold the shape
- Eggs to create lift and flexibility
- Salt to balance everything
For the filling:
- Milk for body
- Egg yolks for richness
- Sugar for gentle sweetness
- Cornstarch to thicken
- Butter for smoothness
- Vanilla for warmth
When combined carefully, these simple ingredients create a dessert that feels far more luxurious than the list suggests.
Cooking the Dough
The process begins with a saucepan and a wooden spoon.
Water, butter, and salt are brought to a strong boil. This step matters. The liquid needs enough heat to absorb the flour properly. When the flour is added, it’s done all at once — no sprinkling, no hesitation.
Stirring begins immediately. At first, it looks messy. Within seconds, it tightens into a mass that pulls away from the pan. The dough is cooked briefly, just long enough to remove excess moisture. A thin film forming on the bottom of the pan is a good sign.
Afterward, the dough rests off the heat. Not long — just enough to cool slightly so the eggs won’t cook on contact.
Eggs are added one at a time. Each addition makes the dough look wrong before it looks right. That’s normal. With patience, the mixture becomes smooth and glossy, thick enough to hold shape but soft enough to fall slowly from a spoon.
That texture is the goal.
Into the Oven
The dough is spooned onto a baking sheet in small mounds. No need for perfection. Uneven shapes puff just as beautifully as neat ones.
Once inside the oven, the door stays closed. The moisture trapped inside the dough turns to steam, pushing outward and creating hollow centers. Opening the oven too early lets that steam escape, and the puffs lose their strength.
As they bake, the shells expand, lift, and turn golden. Near the end, they feel almost weightless when picked up.
Before cooling completely, a small hole is pierced in each shell to release remaining steam. This keeps the inside dry and crisp instead of soft and gummy.
The Vanilla Filling
The filling is slow and calm, not rushed.
Milk is heated gently. Egg yolks, sugar, and cornstarch are whisked together until smooth. Warm milk is added gradually to the eggs, then everything returns to the saucepan.
The cream thickens gradually, then suddenly. Constant stirring keeps it silky. Once thickened, butter and vanilla are stirred in, giving the cream its smooth finish and familiar warmth.
The filling is cooled completely before use. As it chills, it becomes firm enough to hold its shape while still remaining soft.
Bringing It Together
Once both parts are cool, assembly is simple.
Some prefer slicing the shells open and filling them generously. Others use a piping bag and fill them from the side. Either method works. What matters is balance — enough cream to satisfy, not so much that it overwhelms the shell.
A light dusting of powdered sugar is all the decoration they need.
Common Mistakes to Avoid
- Dough that’s too stiff won’t puff properly
- Adding eggs too quickly can ruin the texture
- Opening the oven early can collapse the shells
- Filling warm shells causes sogginess
- Over-sweetening the cream hides the vanilla
Cream puffs reward attention, not rushing.
Storage and Timing
Unfilled shells can be baked ahead and stored in a sealed container. If they lose crispness, a few minutes in a warm oven restores them.
The filling keeps well in the refrigerator for a day.
Once assembled, cream puffs are best enjoyed the same day. They’ll still be good later, but their magic is at its peak when fresh.
Why Cream Puffs Still Matter
In a world of elaborate desserts and constant reinvention, cream puffs remain quietly confident. They don’t need reinvention. Their appeal lies in restraint — light pastry, simple cream, balanced sweetness.
They invite you to slow down, to notice texture and flavor rather than spectacle. They remind us that some recipes survive not because they’re trendy, but because they work.
Making cream puffs at home isn’t about impressing others. It’s about the satisfaction of turning basic ingredients into something unexpectedly refined.
And when the tray comes out empty, you’ll know exactly why they’ve endured for so long.