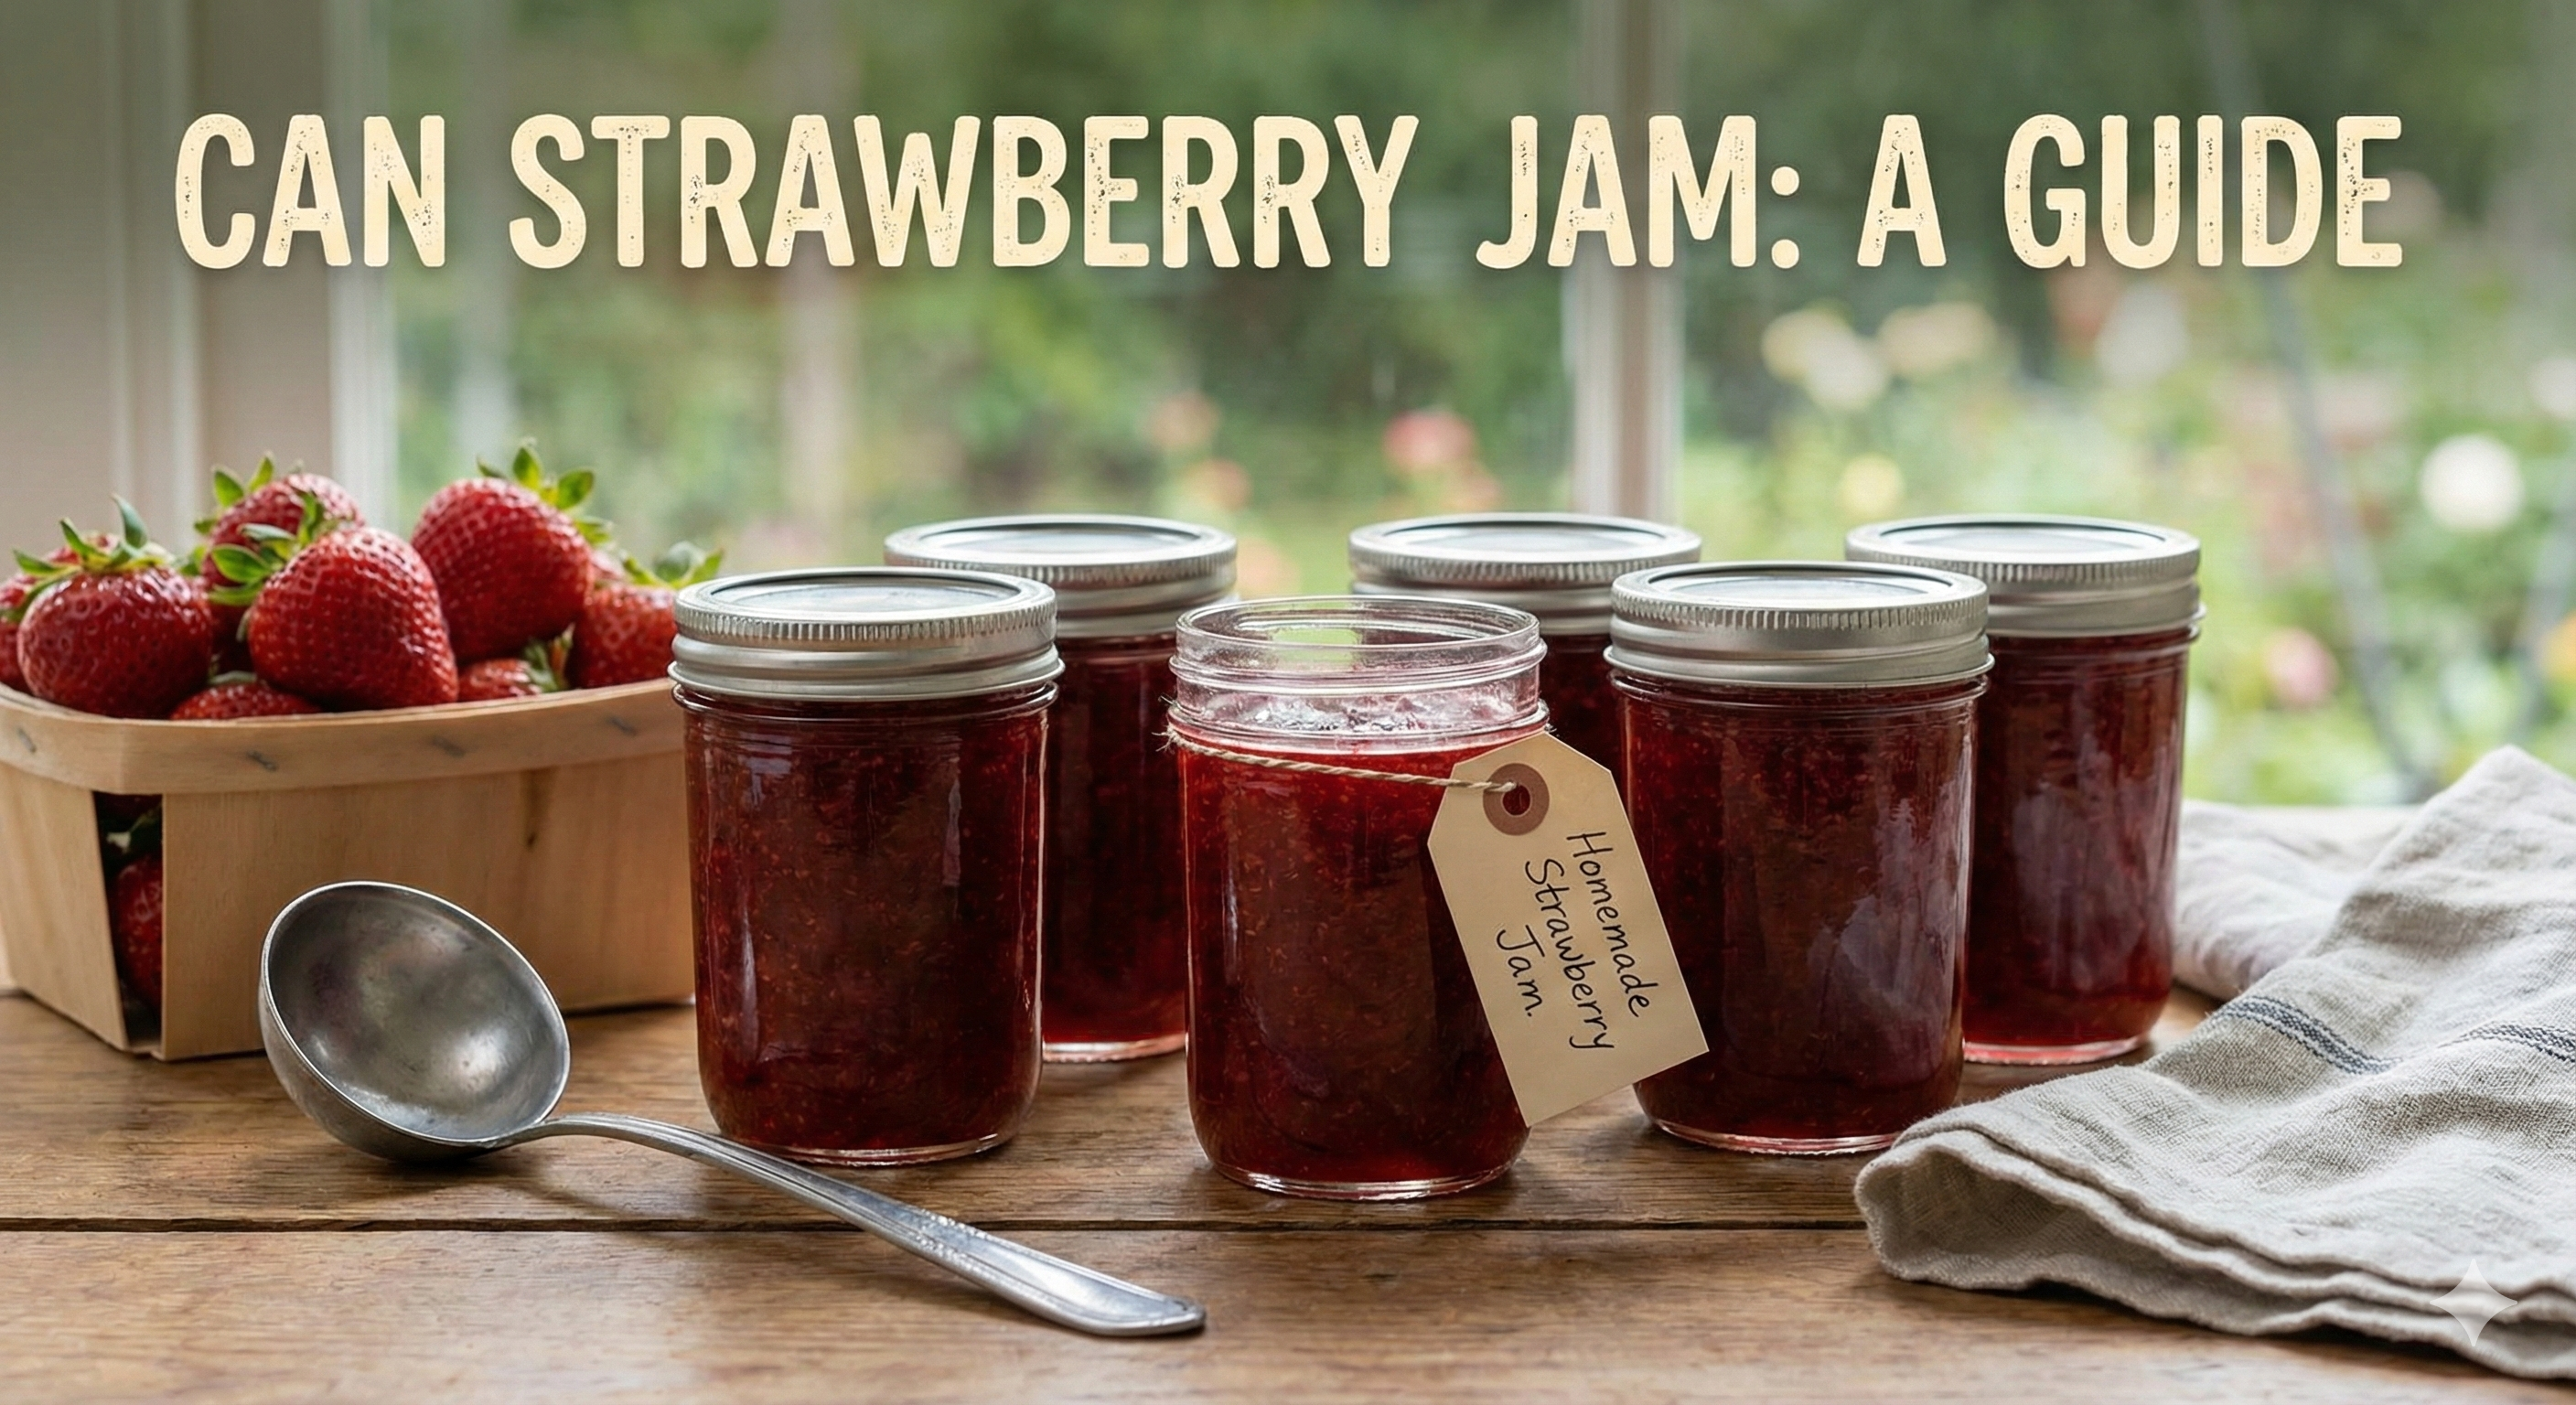
How to Can Strawberry Jam: A Simple Guide for Beginners
Rows of ruby-red jars lined up on your counter, each one holding the essence of June strawberries preserved for months to come—that’s the magic of learning canning strawberry jam at home. If you’ve never tried preserving strawberries at home before, you might think it requires special expertise or complicated equipment. The reality? This beginner canning recipe is surprisingly approachable, and you’re about to discover exactly how to make canned strawberry jam that rivals anything from fancy food shops.
What Makes Home Canning Worth Your Time?
Consider what’s inside commercial jam jars versus what you’ll create. Your homemade strawberry jam recipe contains ingredients you can count on one hand—fruit, sugar, lemon juice. No mystery additives, no corn syrup, no artificial anything. Beyond ingredient control, there’s the economic angle: when strawberries flood markets in peak season, their prices drop dramatically. Preserve them then, and you’re essentially storing summer’s bounty at winter prices.
Then there’s the gift factor. Few presents communicate thoughtfulness quite like hand-preserved jam, especially when strawberry preserves canning produces such visually stunning results.
Your Canning Toolkit
Assembling the right gear makes water bath canning strawberry jam infinitely easier:
Essential Canning Gear:
- Dedicated water bath canner or any stockpot deep enough that jars can be submerged with 2 inches of water above them, plus room to boil
- Something to keep jars off the pot bottom—a proper canning rack, or improvise with a round cooling rack or even a folded dish towel
- Half-pint glass canning jars (expect to fill 7-8)
- Brand new canning lids with sealing compound (these must be new each time)
- Metal screw bands that hold lids in place (these you can reuse indefinitely)
- Jar lifter tongs designed for safely moving hot jars
- Wide-mouth funnel that fits canning jars
- Non-metallic spatula for releasing air bubbles
- Several clean dish towels
Kitchen Basics:
- Heavy pot holding at least 6 quarts for cooking jam
- Long-handled spoon that can withstand high heat
- Potato masher if you want textured jam
- Soup ladle
- One small plate kept in your freezer
What Goes Into Easy Strawberry Jam
Simplicity defines this strawberry jam for canning:
- Fresh strawberries, crushed to measure 4 cups (you’ll start with roughly 2 quarts of whole berries)
- 4 cups white granulated sugar
- ¼ cup freshly squeezed lemon juice
Ingredient Notes:
Strawberries should smell intensely fruity and show deep color. Including a handful of berries that aren’t quite fully ripe actually helps—they contain more natural thickening agents.
Sugar serves multiple purposes beyond sweetness: it draws moisture from fruit, acts as a preservative, and helps achieve that spreadable texture. Cutting back compromises both safety and consistency.
Lemon juice isn’t optional. It provides the acidity level necessary for safe preservation and helps jam firm up properly.
Your Path to Perfectly Canned Jam
Beginning With Berries
Rinse strawberries briefly—prolonged soaking makes them waterlogged. Remove leafy tops and the firm white center portion. Now crush them: you can pulse in a food processor for seconds, use a potato masher, or even chop and press with a fork. Aim for a chunky consistency, not puree. Measure exactly 4 cups into your large cooking pot.
Getting Jars Ready
Fill your canner or large pot with jars and cover them completely with water, ensuring at least an inch above jar tops. Bring this to a gentle simmer around 180°F and maintain that heat. Hot jars won’t crack when you pour in boiling jam. Keep a small pot of water hot (not boiling) for the lids.
The Cooking Phase
Combine your measured crushed strawberries with sugar and lemon juice in the cooking pot. Stir thoroughly and place over medium-high heat. Bring everything to a vigorous, bubbling boil that doesn’t stop when you stir through it.
Maintain this aggressive boil for approximately 15-20 minutes, stirring constantly to prevent sticking and scorching. You’ll notice dramatic foaming initially—that’s expected and will subside. Watch as the mixture gradually thickens and takes on a glossy appearance.
Checking Readiness
Retrieve your frozen plate from the freezer. Drop a small amount of jam onto it and return to freezer for 60 seconds. Draw your finger through the cooled jam—if it wrinkles and the path stays clear rather than filling back in, you’ve achieved the right consistency. Still runny? Continue cooking and retest after a few more minutes.
Remember that jam continues firming as it cools, so avoid overcooking in pursuit of super-thick hot jam.
Filling Jars
Using your jar lifter, remove one hot jar from the water bath. Empty the water back into the pot and set the jar on your towel-covered workspace. Position your canning funnel in the jar opening and ladle hot jam in, stopping ¼ inch below the rim—this gap, called headspace, is crucial for proper sealing.
Slide your bubble tool or plastic spatula around the inside perimeter to dislodge trapped air. Clean the jar rim meticulously with a dampened cloth—even tiny jam residue can interfere with sealing.
Sealing Process
Fish a lid from hot water and center it on your jar. Thread on a metal band and tighten until you meet resistance, then stop—think “fingertip tight” rather than maximum torque. Overtightening actually prevents proper sealing.
Heat Processing
Return filled jars to the canner rack. Water must cover jar tops by 1-2 inches minimum. Cover your canner and turn heat to high. Once you achieve a full rolling boil, start timing: process for 10 minutes at sea level.
If you live at elevation:
- 1,001-6,000 feet elevation: increase to 15 minutes
- Above 6,000 feet: process for 20 minutes
Cooling Period
Timer done? Kill the heat and uncover the canner. Wait 5 minutes before using your jar lifter to transfer jars to a towel-padded counter. Space them apart slightly and resist any urge to touch, tilt, or test the lids for the next 12-24 hours.
During cooling, you’ll hear delightful pinging sounds as vacuum seals form and pull lid centers down. After a full day, press each lid center—a proper seal feels rigid and won’t flex or make clicking sounds. Any jar that didn’t seal goes straight to the refrigerator for use within three weeks.
Keeping Your Jam
Twist off the screw bands before storage—they’ve done their job and leaving them on invites rust plus makes spoilage detection harder. Write the date and contents on each jar. Find them a home somewhere cool, dark, and dry. Under ideal conditions, your canned strawberry jam maintains quality for a full year, though peak flavor happens within the first 6-8 months.
Once you break the seal on a jar, keep it refrigerated and finish within a month.
When Things Don’t Go As Planned
Runny Results: Thinner-than-expected jam is still perfectly safe and delicious—just think of it as luxurious strawberry syrup for pancakes, yogurt, or ice cream. Next time, extend cooking slightly or consider adding commercial pectin following its specific instructions.
Failed Seals: Use unsealed jars immediately from the fridge. Alternatively, within 24 hours of the original processing, you can replace the lid with a new one and reprocess for the full time.
Fruit Rising: Sometimes fruit floats to jar tops while liquid sinks. Harmless and doesn’t affect flavor—just stir before using. Allowing cooked jam to rest 5 minutes before jarring reduces this tendency.
Separated Layers: Occasionally liquid and solids part ways. Simply mix them back together when opening. Using fruit that’s not overripe helps prevent this.
Maximizing Success
Berry Selection: Local, in-season strawberries trump shipped produce every time for flavor intensity. Blend fully ripe berries with some that are still showing a bit of white near the stem.
Precision Matters: Food preservation isn’t the place for approximate measurements. Level off your sugar measurements and be exact with fruit quantities.
Single Batches Only: Resist doubling recipes—larger volumes heat unevenly and take too long reaching proper temperature, compromising both gel formation and safety.
Never Stop Stirring: Once sugar dissolves into fruit, the mixture scorches easily. Plant yourself at the stove and keep that spoon moving.
Move Quickly: Hot jam needs to go into hot jars without delay. Set up your workspace so everything flows smoothly—pot to ladle to funnel to jar.
Fresh Lids Always: Those flat discs with sealing rings work only once. Screw bands last for years, but lids must be new every time.
Beyond Basic: Flavor Adventures
After mastering standard jam canning instructions, experiment:
Strawberry-Lavender: Add 1 tablespoon culinary lavender tied in cheesecloth during cooking; remove before jarring.
Strawberry-Lime-Mint: Swap lemon juice for lime, stir in minced fresh mint at the end.
Boozy Strawberry: Add 2 tablespoons Grand Marnier or amaretto in the final cooking minutes.
Black Pepper Strawberry: A few grinds of black pepper create surprising complexity without obvious spiciness.
Strawberry-Ginger: Grate fresh ginger into cooking jam for warming zing.
Safety Cannot Be Compromised
Follow these non-negotiable rules:
- Stick to tested recipes from trustworthy sources
- Never reduce sugar or lemon juice quantities
- Process the complete recommended time at proper temperature
- Examine seals carefully before storing anything
- Discard jars showing any warning signs: bulging lids, off smells, visible mold, or cloudiness
- Trust your instincts—suspect jars get tossed without tasting
Why This Skill Matters
Learning how to can strawberry jam represents more than just preserving fruit. You’re connecting with generations of home cooks who understood that capturing seasonal abundance means eating well year-round. Each jar embodies self-reliance, waste reduction, and the particular satisfaction that comes from creating something genuinely useful with your own hands.
That first successful canning session—watching jars seal one by one, knowing you’ve created shelf-stable food—hooks most people immediately. Suddenly you’re eyeing other produce at the market, wondering what else you might preserve. Your pantry transforms from a storage space into a gallery showcasing your growing skills.
Friends notice those jewel-toned jars and ask questions. You find yourself becoming the person others consult about preserving. What seemed intimidating becomes routine, even meditative. The initial investment in equipment pays for itself within a few batches.
Your Canning Journey Starts Now
Everything you need to know sits right here in this guide. Summer strawberries await transformation into something that transcends seasons. Set aside one unhurried afternoon, gather your supplies, and join the tradition of home food preservation that’s experiencing a well-deserved renaissance.
That moment when you spread your first spoonful of homemade jam on morning toast—tasting June sunshine in December—you’ll understand why people become passionate about canning. The learning curve is gentler than you imagine, and the rewards extend far beyond stocked shelves.
So grab those berries and get started. Your pantry is about to become much more interesting.
Tell us about your canning adventures! What variations have you tried, and what questions can we answer?