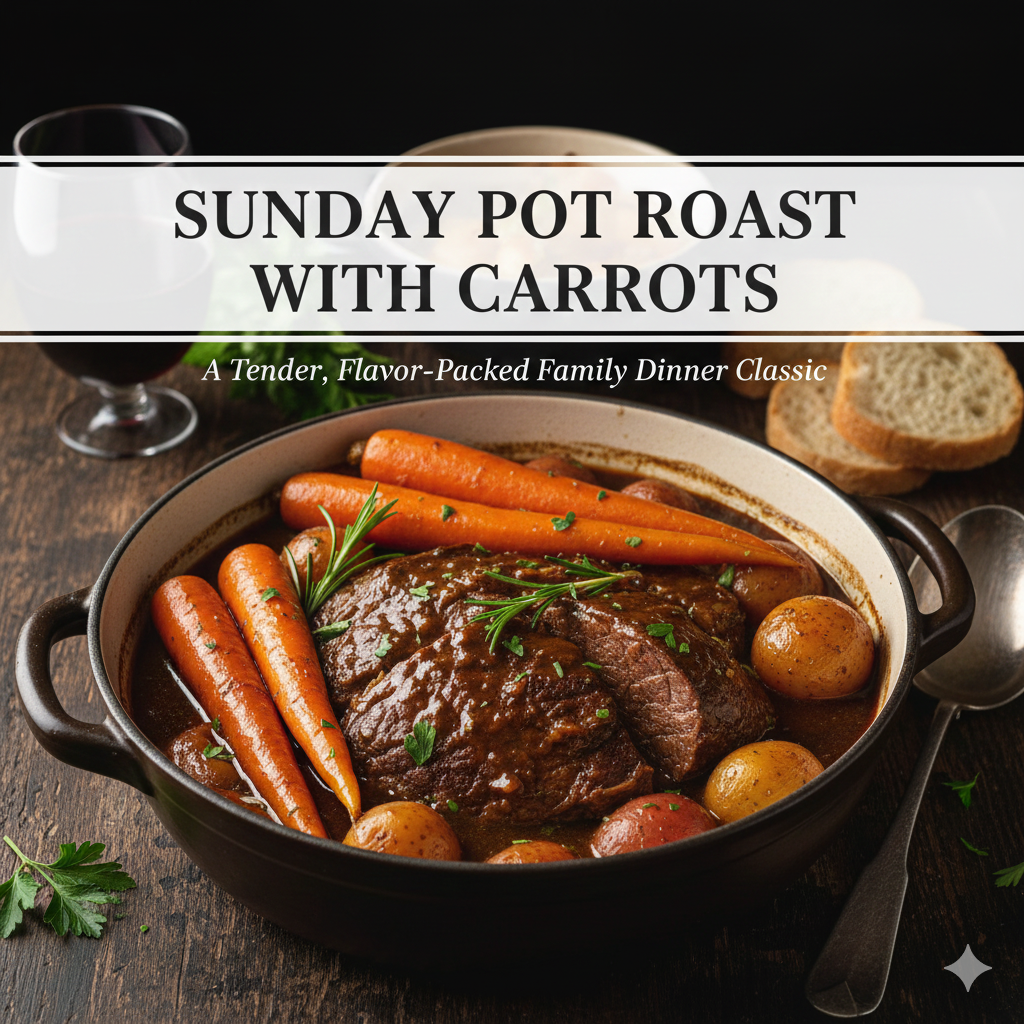
Sunday Pot Roast with Carrots: A Tender, Flavor-Packed Family Dinner Classic
There’s a particular kind of contentment that settles over a household when pot roast is in the oven. Hours before dinner, the first hints of savory aroma begin drifting through rooms, building anticipation bite by bite. By the time you gather everyone around the table, that beef has transformed into something spectacular—so yielding it barely needs a knife, surrounded by vegetables that have soaked up every bit of richness from the cooking liquid.
This isn’t about following trends or impressing anyone with fancy techniques. A Sunday pot roast with carrots represents cooking at its most honest and satisfying. You’re taking an affordable piece of meat, applying heat and time, and ending up with something that tastes like someone’s been caring for it all day—because you have.
Why This Approach Works
The secret behind any tender pot roast recipe lies in understanding what happens during those hours in the oven. Tough cuts contain collagen that needs time and moisture to break down into silky gelatin. Rush this process and you’ll end up chewing rubber. Give it proper attention, and that same cut becomes luxuriously soft.
Meanwhile, your vegetables aren’t just passengers—they’re active participants. Carrots sweeten as they cook, onions mellow and enrich the sauce, potatoes drink up flavors while adding body to the liquid. Everything improves everything else, which is the hallmark of genuinely smart cooking.
What Goes Into It
The Beef:
- One 3-4 pound chuck roast
- Cooking oil (2 tablespoons)
- Kosher salt and black pepper
- A couple tablespoons of flour
Your Vegetables:
- Carrots, about 6-8 medium ones, cut in chunks
- Four or five potatoes, quartered
- Two big onions, roughly chopped
- Several garlic cloves, crushed
- Celery if you like it
The Cooking Liquid:
- Beef stock (2 cups)
- Red wine if you have it (1 cup), or more stock
- Tomato paste (2 tablespoons)
- Bay leaves (2)
- Fresh or dried thyme
- Worcestershire sauce (a splash)
How to Make It Happen
Getting the Meat Ready
Pull your roast from the refrigerator thirty minutes before you plan to cook—cold meat sears poorly. Blot away all surface moisture with paper towels. Season every surface aggressively with salt and pepper. This seems like a lot of seasoning, but much of it forms the crust rather than penetrating the meat.
Set your oven to 325°F while you work on the stovetop portion.
Creating That Essential Crust
Pour oil into your heaviest pot—a Dutch oven is perfect—and heat it until the surface ripples. Lower your roast into the hot oil carefully and leave it completely alone. After four or five minutes, flip it to another side. Continue until every surface has developed a deep caramel-brown exterior. This browning isn’t just for looks; it’s building layers of flavor that will permeate your entire dish.
Move the browned roast to a plate temporarily.
Developing the Base
Drop your onions into that same pot where fat and browned bits coat the bottom. Those onions will release moisture that helps you scrape up all that stuck-on goodness. Stir occasionally while they soften for three or four minutes. Toss in garlic and cook just until it smells incredible—maybe a minute.
Drop in the tomato paste and keep stirring for two minutes. You want it to darken slightly and lose its raw edge. Dust everything with flour and keep stirring for another minute. This creates the thickening agent for your gravy later.
Building the Braising Environment
Pour in your wine and scrape vigorously while it bubbles. Let it reduce for a couple minutes—this cooks off the harsh alcohol notes while keeping the complex flavors. Add stock, Worcestershire, bay leaves, and thyme. Stir everything into a cohesive liquid.
Starting the Long Cook
Nestle your browned beef back into the pot along with whatever juices collected on the plate. The liquid level should reach about halfway up the meat’s sides. If it doesn’t, add more stock. Watch for gentle bubbles to appear, then cover tightly with the lid.
Slide the whole thing into your waiting oven. Set a timer for two hours and try to resist opening it to peek—every time you lift that lid, you release heat and extend cooking time.
Adding Your Vegetables
When two hours have passed, pull the pot out carefully. Tuck carrots, potatoes, and celery around and between the meat, pushing them down into the liquid. They’ll finish cooking during the final stretch without becoming mushy.
Cover again and return to the oven for another hour to ninety minutes. You’ll know it’s ready when a fork slides into the meat with almost no resistance. Total time will run somewhere between three and three-and-a-half hours depending on your specific roast and oven quirks.
Finishing Touches
Move your roast to a cutting board and cover it loosely with foil. This resting period lets juices redistribute so they don’t all run out when you cut in. Use a slotted spoon to fish out vegetables onto a serving platter.
For your gravy, set the pot on a burner over medium heat. Pull out the bay leaves and thyme stems. If the liquid seems thin, whisk together two tablespoons each of cornstarch and cold water, then stir this mixture into the simmering liquid. Give it a few minutes to thicken. Taste and adjust seasoning—it probably needs more salt and pepper than you think.
Slice or tear apart your beef, arrange everything on a platter, and spoon gravy generously over the top.
Techniques That Make the Difference
Selecting Your Beef: Chuck roast works beautifully because it contains enough fat and connective tissue to stay moist during extended cooking. Leaner cuts will disappoint you.
Patience During Searing: Get a real crust by making sure the meat is bone-dry and the pot is properly hot before they meet.
Temperature Matters: Higher heat makes meat tougher, not more tender. Keep things gentle.
Seal It Well: A loose-fitting lid lets steam escape and can dry out your roast. Make sure yours fits snugly.
Honor the Rest: Ten minutes sitting on the board isn’t optional—it’s essential for juicy results.
Consider Tomorrow: This beef roast with vegetables often tastes even better the next day after flavors have had time to marry.
Different Directions You Could Go
Switch up the herbs—rosemary adds an earthy note, while a cinnamon stick brings unexpected warmth. Swap vegetables based on what you have: parsnips add sweetness, turnips bring a peppery bite, pearl onions look elegant.
You could absolutely make this slow-cooked beef pot roast in a countertop slow cooker if you prefer—brown everything first, then cook on low for eight to ten hours. A pressure cooker works too, though you miss out on those hours of incredible aroma filling your house.
Don’t drink alcohol? Use all stock plus a tablespoon of balsamic vinegar to replace the wine’s acidity.
What to Serve Alongside
While this comfort food pot roast stands alone as a complete meal, a few additions enhance the experience. Crusty bread makes sense for soaking up gravy. A crisp green salad cuts through the richness. Buttered noodles add more heartiness if you’re feeding big appetites. Some people love horseradish cream on the side for punch, while others prefer pickled vegetables for contrast.
Dealing with Extras
Pack leftover roast and vegetables together with plenty of gravy in an airtight container. It keeps four days in the refrigerator or three months in the freezer.
Leftovers open up possibilities: shred the meat for sandwiches, stuff it into tacos, or chop everything together as filling for shepherd’s pie. Or simply warm it gently and enjoy round two.
Understanding the Science
This oven-baked pot roast works because it honors basic principles. Searing builds flavor through chemical reactions between proteins and sugars. Low temperature breaks down collagen gradually rather than squeezing out moisture. Adequate liquid provides the humid environment needed for braising. Sufficient time allows all these processes to complete their work.
The vegetables both give and receive—they flavor the liquid while absorbing it, creating a dish where every element contributes to the whole. Nothing is wasted, nothing is extraneous.
Why We Keep Making This
A classic pot roast recipe like this endures because it solves real problems. It feeds a crowd affordably. It requires minimal active attention once it hits the oven. It fills the house with an aroma that makes people happy. It produces reliable results even for inexperienced cooks.
More than that, though, this Sunday dinner recipe represents a kind of cooking that feels increasingly rare—the kind where time itself is an ingredient, where you can’t rush excellence, where patience yields rewards that speed never could.
Making a proper pot roast with carrots and potatoes is an act of care. It says you thought ahead, planned something substantial, and committed to seeing it through. In return, it gives you a meal that brings people together and leaves everyone satisfied.
That’s not a bad exchange for an afternoon’s gentle work.
How does your family make pot roast? What traditions or tricks have been passed down in your kitchen?