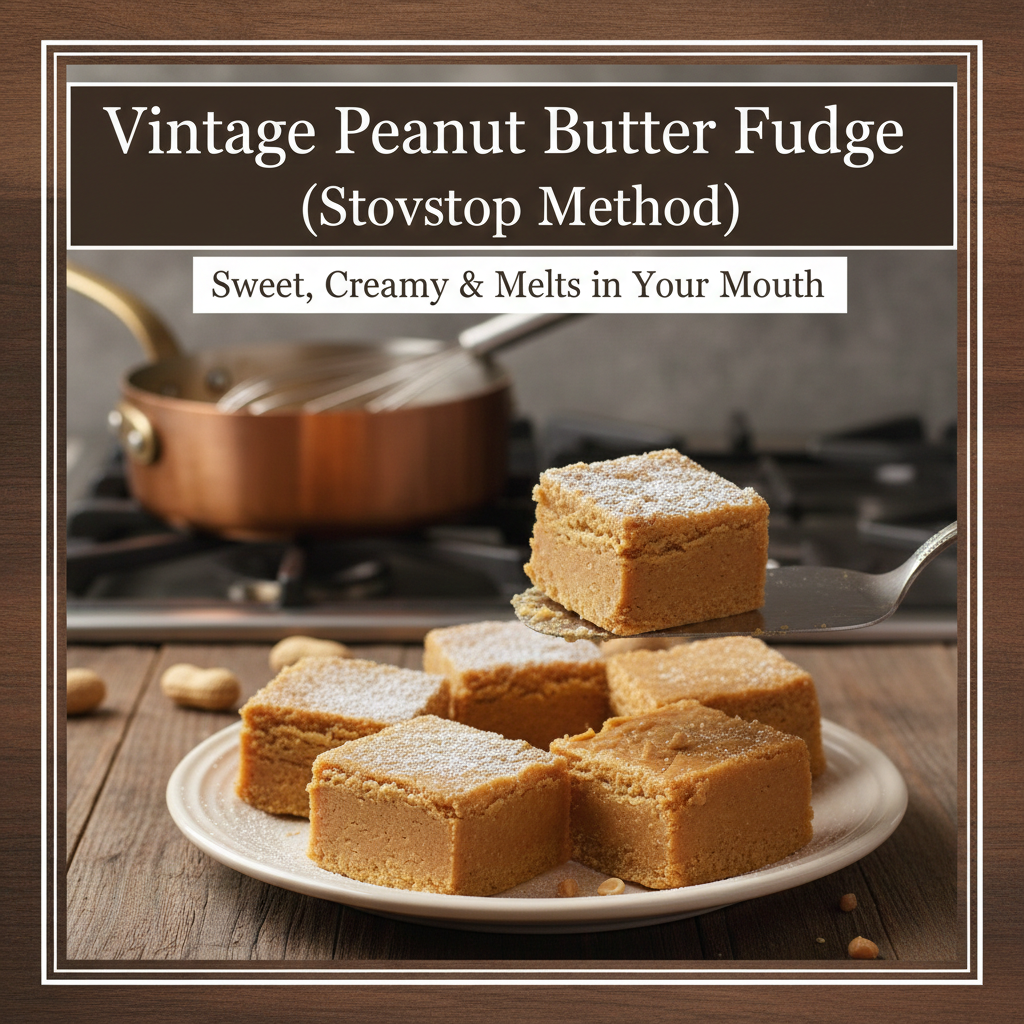
Vintage Peanut Butter Fudge (Stovetop Method)
There was a time when fudge didn’t come from a candy shop or a gift tin wrapped in plastic. It was made right on the stove, in a heavy pot, with ingredients you already had and a wooden spoon that had seen better days. Peanut butter fudge, especially, was a quiet hero of old kitchens—no thermometers, no shortcuts, just patience and practice.
This kind of fudge wasn’t flashy. It wasn’t meant to be perfect squares lined up for photos. It was soft, rich, and sometimes a little crumbly around the edges. And it tasted like someone cared enough to stand at the stove and stir.
That’s the version we’re making here.
Why Old-Fashioned Peanut Butter Fudge Still Matters
Modern recipes often promise “two-minute fudge” or microwave shortcuts. They work, sometimes. But they don’t give you the same texture, the same depth of flavor, or that quiet pride that comes from getting it just right.
The stovetop method teaches you something:
- How sugar behaves when it heats
- How patience changes texture
- How a simple ingredient like peanut butter can carry a whole dessert
This fudge isn’t just candy. It’s a skill passed down, whether written or not.
What Makes This Fudge Different
Vintage peanut butter fudge is:
- Creamy but firm, not sticky
- Sweet without being sharp
- Soft on the tongue, not gritty
The secret isn’t fancy peanut butter or special sugar. It’s timing, temperature, and knowing when to stop stirring.
Ingredients (Nothing Fancy, Nothing Extra)
This recipe sticks close to what would have been common in mid-century kitchens.
- Sugar
- Milk
- Butter
- Peanut butter (regular, not natural)
- Vanilla extract (optional but traditional)
That’s it.
No marshmallows. No condensed milk. No powdered sugar.
Choosing the Right Peanut Butter
This matters more than people realize.
Use a classic, shelf-stable peanut butter. The kind that doesn’t separate. The oil-heavy natural versions can break the fudge and cause it to turn greasy or grainy.
Old recipes assumed the peanut butter was smooth, consistent, and predictable.
And sometimes predictable is exactly what you want.
Equipment You’ll Need
Nothing special—just reliable.
- A heavy saucepan (thin pans scorch easily)
- A wooden spoon or heat-safe spatula
- A small dish of cold water (you’ll see why)
- An 8×8 or similar pan, lightly buttered
Candy thermometers weren’t always common. You won’t need one here.
Step-by-Step: The Traditional Way
1. Start with the Sugar Base
Add sugar, milk, and butter to your saucepan. Place it over medium heat and stir gently until everything melts together.
Once it starts to bubble, stop stirring constantly. Stirring too much can cause crystals to form.
Let it come to a steady boil.
2. Let It Boil (This Is Where Patience Matters)
Allow the mixture to boil for several minutes. You’re watching for a change in behavior, not just time.
The bubbles will slow and become thicker. The mixture will look glossy and slightly heavier.
To test it the old way, drop a small spoonful into cold water. If it forms a soft ball you can pick up between your fingers, it’s ready.
If it dissolves—keep boiling.
If it turns hard—it’s gone too far.
This part takes practice, not perfection.
3. Remove from Heat and Add Peanut Butter
Take the pan off the heat. Immediately stir in the peanut butter and vanilla if using.
The mixture will thicken quickly. Stir firmly but don’t rush.
This is the moment when the fudge decides what it wants to be.
4. Beat Until It Loses Its Shine
Keep stirring as the mixture cools slightly. You’ll notice it go from glossy to matte.
That’s your cue.
Pour it into the prepared pan and smooth the top gently. Don’t press hard.
Let it sit at room temperature until fully set.
Why Stirring at the End Is So Important
This final stirring step is what gives vintage fudge its signature texture.
Too little stirring and it won’t set properly.
Too much stirring and it becomes crumbly.
Old cooks didn’t time this—they watched it.
When the shine fades, you stop.
Cutting the Fudge Cleanly
Once set:
- Use a sharp knife
- Wipe the blade clean between cuts
- Cut gently, not forcefully
Fudge should break clean but feel soft when bitten.
Common Problems (and Why They Happen)
Grainy Texture
Usually caused by:
- Stirring too much during boiling
- Sugar crystals forming on the sides of the pan
Solution: Use a damp cloth to wipe the pan sides during boiling.
Too Soft
Often under-boiled.
Next time, let it boil just a little longer before testing.
Too Crumbly
Usually over-boiled or over-stirred at the end.
This fudge teaches patience more than speed.
How This Fudge Was Traditionally Served
- Cut into small squares
- Wrapped in wax paper
- Stored in tins
- Shared, not hoarded
It showed up at holidays, church socials, and kitchen tables—not as a centerpiece, but as something dependable.
Storage Tips
- Store at room temperature in an airtight container
- Keep layers separated with parchment
- Avoid refrigeration—it dulls the texture
Properly stored, it keeps well for several days.
A Note on Variations (Keep Them Simple)
Vintage cooks didn’t overdo it.
If you must:
- Add chopped peanuts for texture
- Swirl a little chocolate on top
But the heart of this fudge is restraint.
Why This Recipe Still Works Today
In a world of shortcuts, this fudge asks you to slow down. To pay attention. To trust your senses.
It doesn’t rush you.
It doesn’t promise perfection.
It rewards care.
That’s why it’s lasted.
Final Thought
Vintage peanut butter fudge isn’t about nostalgia alone. It’s about learning a skill that once mattered, and still does.
When you make it the stovetop way, you’re not just making candy—you’re practicing a kind of kitchen patience that doesn’t show up in quick recipes.
And when you cut into it and taste that smooth, mellow sweetness, you’ll understand why this version never needed improving.